> ## Documentation Index
> Fetch the complete documentation index at: https://docs.hellorecruiter.ai/llms.txt
> Use this file to discover all available pages before exploring further.
# Team Management — Invite Members & Assign Roles
> Invite colleagues to Hello Recruiter, assign Admin or Recruiter roles, and manage team permissions for collaborative hiring.
Bringing your colleagues into Hello Recruiter is the first step to collaborative hiring.
**Who is this for?** Users with **Administrator** or **Account Owner** roles.
 ## Invite a New Team Member
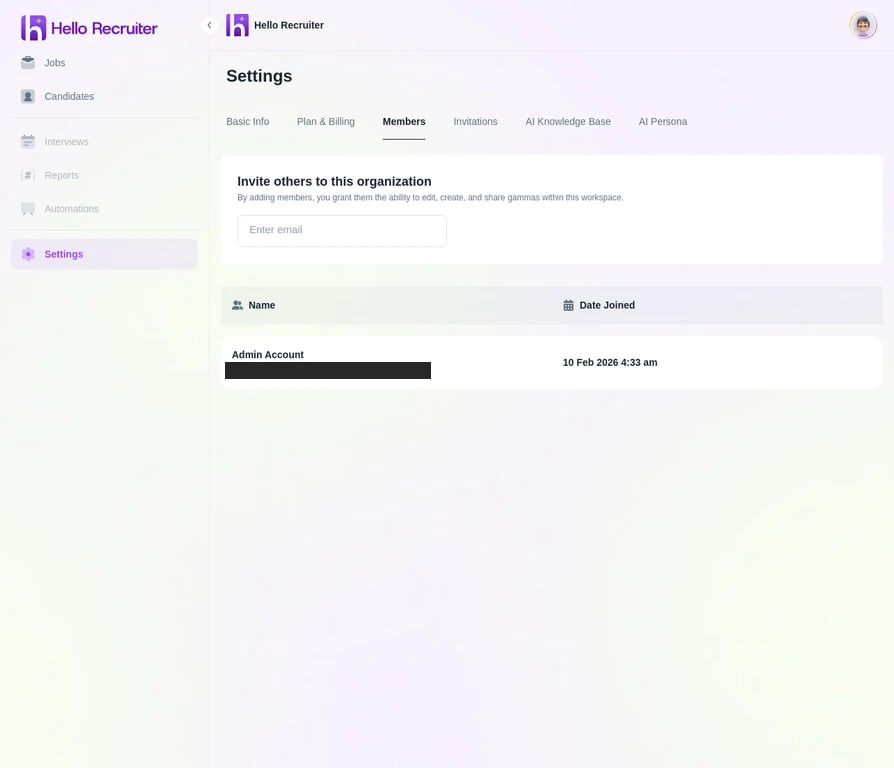
From the main navigation sidebar, click **Settings**, then select **Members** from the settings menu.
Click the **+ Invite Member** button to open the invitation dialog.
In the **Email Address** field, enter the email of the colleague you wish to invite. You can add multiple emails separated by commas. From the **Role** dropdown menu, assign a permission level.
Click **Send Invitation**. Your team member will receive an email with instructions to set up their account.
## Pending Invitations
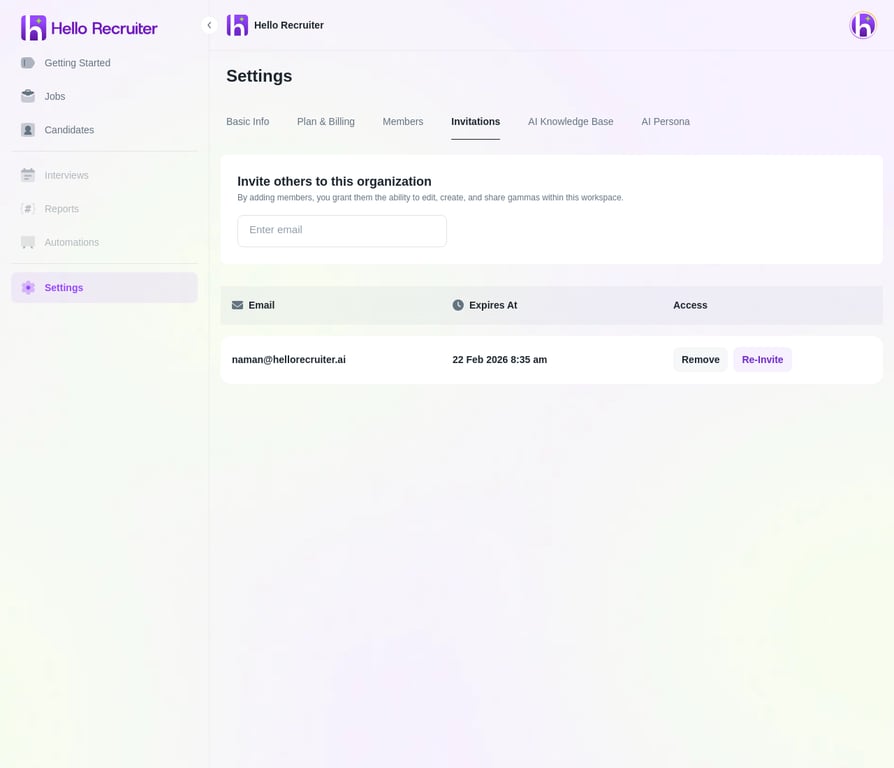
You can view and manage all pending invitations by clicking on the **Invitations** tab. From here, you can resend or revoke an invitation.
## Invite a New Team Member
From the main navigation sidebar, click **Settings**, then select **Members** from the settings menu.
Click the **+ Invite Member** button to open the invitation dialog.
In the **Email Address** field, enter the email of the colleague you wish to invite. You can add multiple emails separated by commas. From the **Role** dropdown menu, assign a permission level.
Click **Send Invitation**. Your team member will receive an email with instructions to set up their account.
## Pending Invitations
You can view and manage all pending invitations by clicking on the **Invitations** tab. From here, you can resend or revoke an invitation.
 ## Change a Team Member's Role
Go to **Settings** → **Members** from the main sidebar.
Locate the team member whose role you want to change.
Click the **More Options** (three dots) icon, select **Change Role**, choose the new role from the dropdown, and click **Save Changes**. Permissions update instantly.
## Remove a Team Member
Go to **Settings** → **Members** from the main sidebar.
Locate the team member you wish to remove.
Click the **More Options** (three dots) icon, select **Remove User**, and confirm the removal in the dialog.
Removing a user is permanent. The user will immediately lose access to the platform. Their historical activity (interview evaluations, notes) will be preserved.
## Pro Tips
**Assign roles carefully.** Follow the principle of least privilege — only grant Administrator access to users who need to manage billing, integrations, and company-wide settings.
**Regularly audit your user list.** Periodically review your team list to remove inactive accounts. This keeps your workspace secure and helps manage subscription costs.
## Related Guides
## Change a Team Member's Role
Go to **Settings** → **Members** from the main sidebar.
Locate the team member whose role you want to change.
Click the **More Options** (three dots) icon, select **Change Role**, choose the new role from the dropdown, and click **Save Changes**. Permissions update instantly.
## Remove a Team Member
Go to **Settings** → **Members** from the main sidebar.
Locate the team member you wish to remove.
Click the **More Options** (three dots) icon, select **Remove User**, and confirm the removal in the dialog.
Removing a user is permanent. The user will immediately lose access to the platform. Their historical activity (interview evaluations, notes) will be preserved.
## Pro Tips
**Assign roles carefully.** Follow the principle of least privilege — only grant Administrator access to users who need to manage billing, integrations, and company-wide settings.
**Regularly audit your user list.** Periodically review your team list to remove inactive accounts. This keeps your workspace secure and helps manage subscription costs.
## Related Guides