> ## Documentation Index
> Fetch the complete documentation index at: https://docs.hellorecruiter.ai/llms.txt
> Use this file to discover all available pages before exploring further.
# How to Create a Job Posting with AI-Powered Interviews
> Step-by-step guide to creating a new job in Hello Recruiter — add role details, set evaluation criteria, and publish with AI interviews enabled.
Follow these steps to get your new job opening live and start sourcing candidates.
**Who is this for?** Users with **Administrator** and **Recruiter** roles.
## Step-by-Step Instructions
From your main dashboard, go to the **Jobs** section in the left-hand menu.
Click the **+ Create New Job** button at the top of the page.
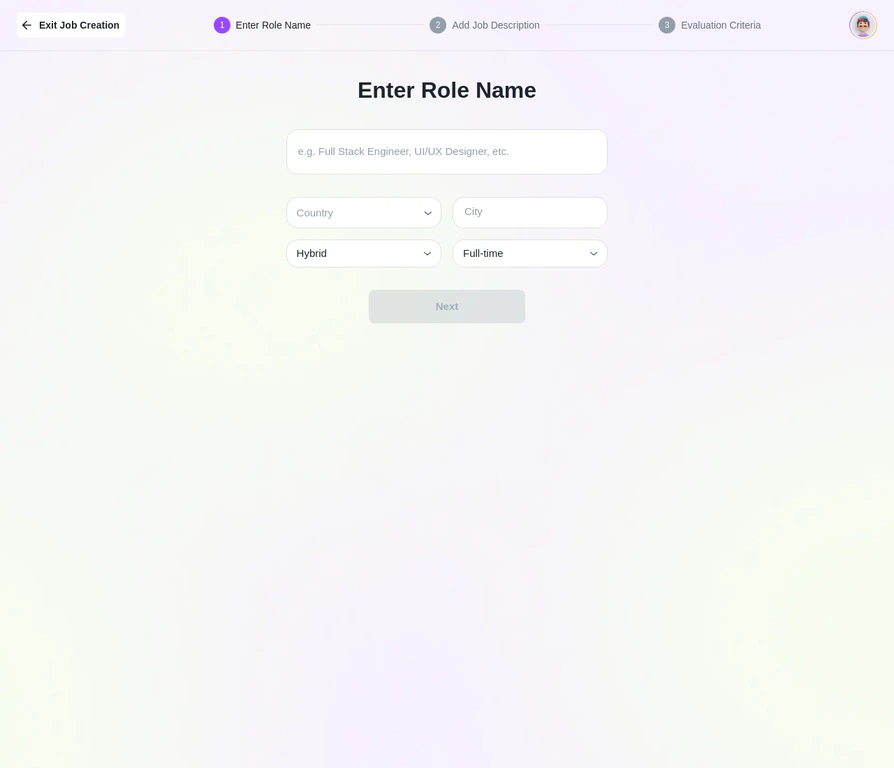
Enter the **Role Name** (e.g., "Senior Software Engineer") and select the **Country** and **Location**.
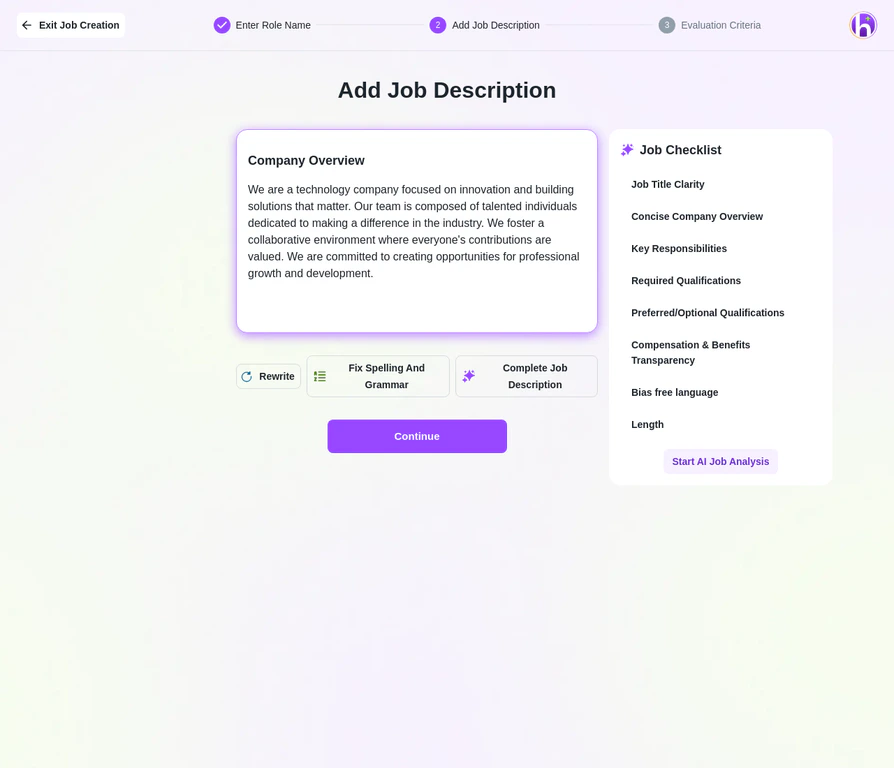
 You have two options:
* **Complete Job Description:** Click **Complete Job Description**, and the AI will create a comprehensive, optimized job description for you.
* **Manual Entry:** Copy and paste your existing description directly into the **Job Description** text box.
You have two options:
* **Complete Job Description:** Click **Complete Job Description**, and the AI will create a comprehensive, optimized job description for you.
* **Manual Entry:** Copy and paste your existing description directly into the **Job Description** text box.
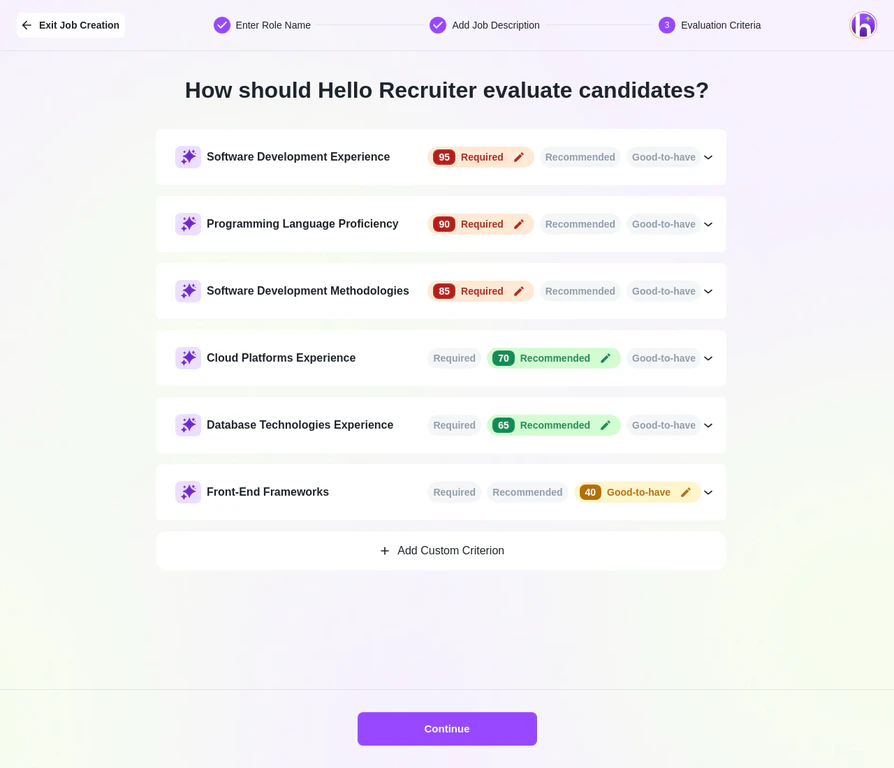
 Define the criteria the AI will use to evaluate candidates. This includes skills, experience, and other qualifications.
 Review all details, then **change the status from Draft to Active**. Your job will be live on your company's career page.
## Pro Tips
**Leverage the AI Generator.** We highly recommend using **Complete Job Description** for your job description. It uses inclusive language and SEO best practices to attract a more diverse and qualified pool of applicants.
**Double-check the hiring team.** Ensure the correct Recruiter and Hiring Manager are assigned. This is crucial for sending candidate notifications and maintaining a smooth workflow.
## Related Articles
Review all details, then **change the status from Draft to Active**. Your job will be live on your company's career page.
## Pro Tips
**Leverage the AI Generator.** We highly recommend using **Complete Job Description** for your job description. It uses inclusive language and SEO best practices to attract a more diverse and qualified pool of applicants.
**Double-check the hiring team.** Ensure the correct Recruiter and Hiring Manager are assigned. This is crucial for sending candidate notifications and maintaining a smooth workflow.
## Related Articles