> ## Documentation Index
> Fetch the complete documentation index at: https://docs.hellorecruiter.ai/llms.txt
> Use this file to discover all available pages before exploring further.
# Account & Profile Setup — Getting Started with Hello Recruiter
> Create your Hello Recruiter account, complete your profile, and configure your company information to start hiring with AI.
Setting up your account is quick and ensures your team knows who you are and that your company branding is correctly applied across the platform.
**Who is this for?** All new users, especially the initial Account Owner or Administrator setting up the workspace for the first time.
## Step-by-Step Instructions
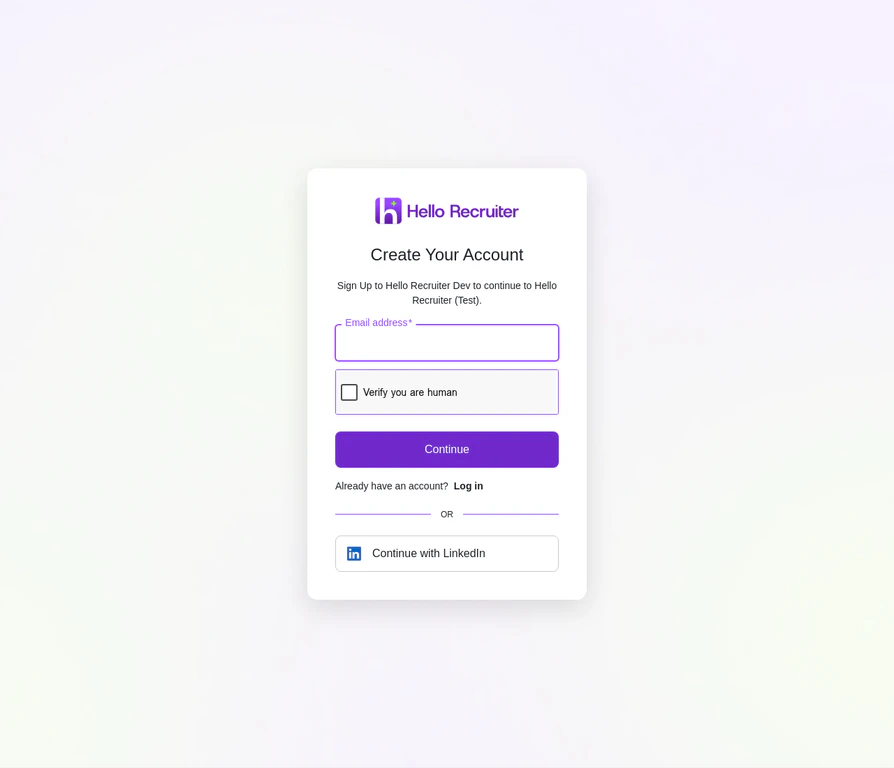
If you're the first user, navigate to the sign-up page to create your account. If you were invited by a team member, you will receive a welcome email from Hello Recruiter. Click the **Accept Invitation** button inside the email.
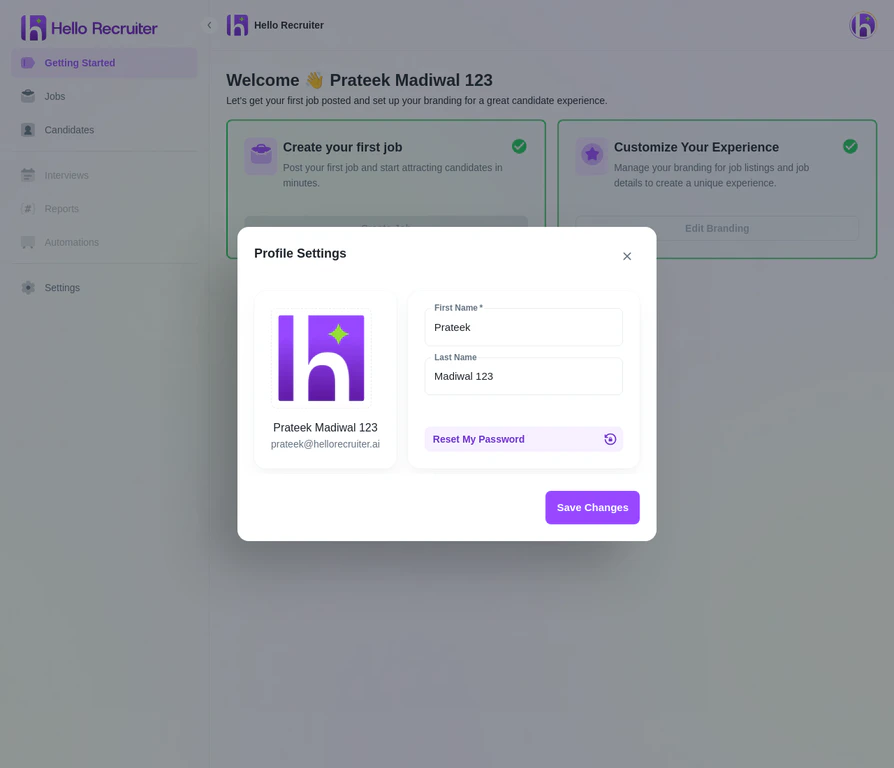
 After logging in for the first time, complete your personal profile. Click the **Account button** in the top-right corner of the navigation bar and select **Profile**.
* Enter your **First Name** and **Last Name**
* Click **Update photo** to add a profile picture — we recommend a professional headshot.
After logging in for the first time, complete your personal profile. Click the **Account button** in the top-right corner of the navigation bar and select **Profile**.
* Enter your **First Name** and **Last Name**
* Click **Update photo** to add a profile picture — we recommend a professional headshot.
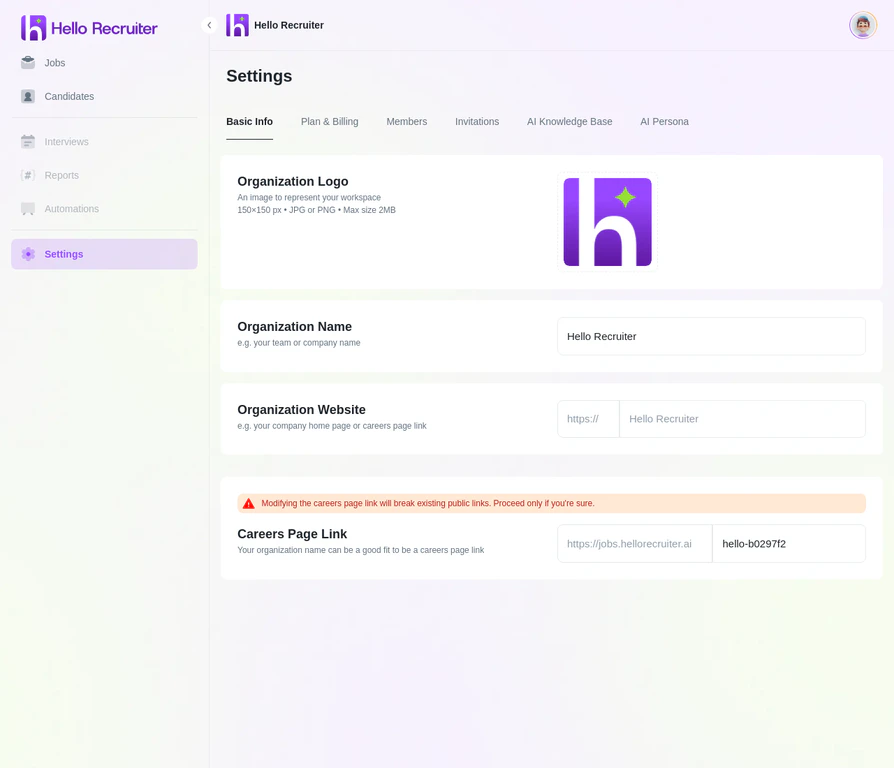
 Navigate to **Settings** from the main sidebar. Under the **Basic Info** tab:
* Enter your **Organization's Name**
* Upload your **Organization Logo** — this will appear on your career pages and in candidate communications.
* Set your public career page URL slug.
Navigate to **Settings** from the main sidebar. Under the **Basic Info** tab:
* Enter your **Organization's Name**
* Upload your **Organization Logo** — this will appear on your career pages and in candidate communications.
* Set your public career page URL slug.
 ## Pro Tips
**Complete your profile fully.** A complete profile with a photo helps build rapport with your team members and adds a personal touch to your communications.
**Use a high-quality logo.** Your company logo is a key part of your brand. Use a high-resolution version to ensure it looks sharp on your public-facing career page.
## Related Articles
## Pro Tips
**Complete your profile fully.** A complete profile with a photo helps build rapport with your team members and adds a personal touch to your communications.
**Use a high-quality logo.** Your company logo is a key part of your brand. Use a high-resolution version to ensure it looks sharp on your public-facing career page.
## Related Articles