> ## Documentation Index
> Fetch the complete documentation index at: https://docs.hellorecruiter.ai/llms.txt
> Use this file to discover all available pages before exploring further.
# AI-Assisted Coding
> Setting up and using the provided AI coding assistant for your take-home assessment — automatic setup, manual setup, and what the script actually does.
Some take-home assessments are AI-assisted — you solve the problem with a coding assistant we provide, instead of entirely on your own. You may also hear this called **"vibe coding"** informally. This guide covers getting set up and working with the assistant; for the parts shared with every take-home (deadline, packaging your ZIP, submitting), see the [Take-Home Assessment](/candidates-guide/take-home-assessment) guide.
Your recruiter will tell you if this applies to you. If you're not sure, check your invitation email or your assignment page.
## What's Different From a Standard Assessment
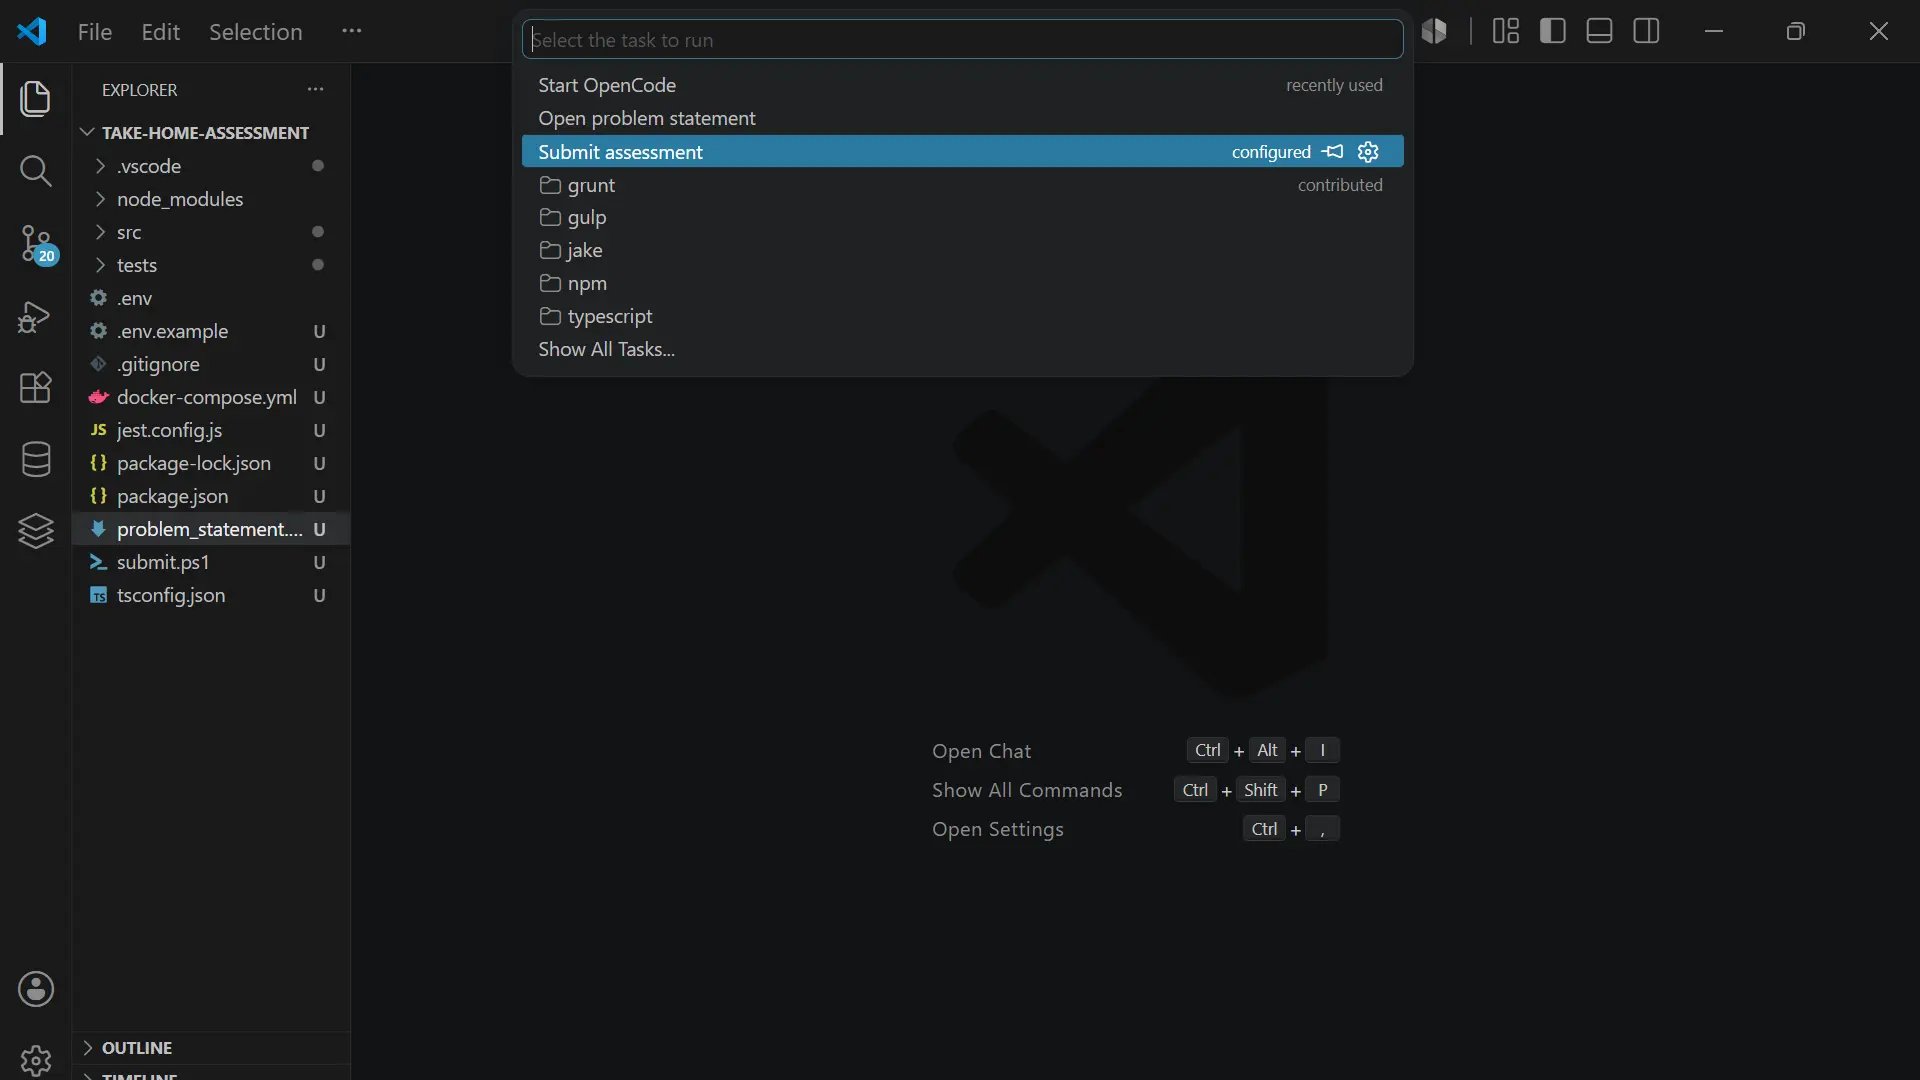
* You're given **OpenCode**, an AI coding assistant that runs in your terminal, with an AI usage budget already funded for you
* Your AI session is recorded as part of your submission — the AI reviews how you worked with the assistant, not just your final code
* Everything else works the same: same deadline, same ZIP upload, same "you can't resubmit once you're done"
Work with the assistant the way you normally would on a real task — ask it questions, have it write code, test what it produces, and correct it when it's wrong.
***
## Setting Up Your Workspace
Your assignment page gives you two ways to get set up. Pick whichever you're more comfortable with — they end up in the same place.
### Automatic Setup
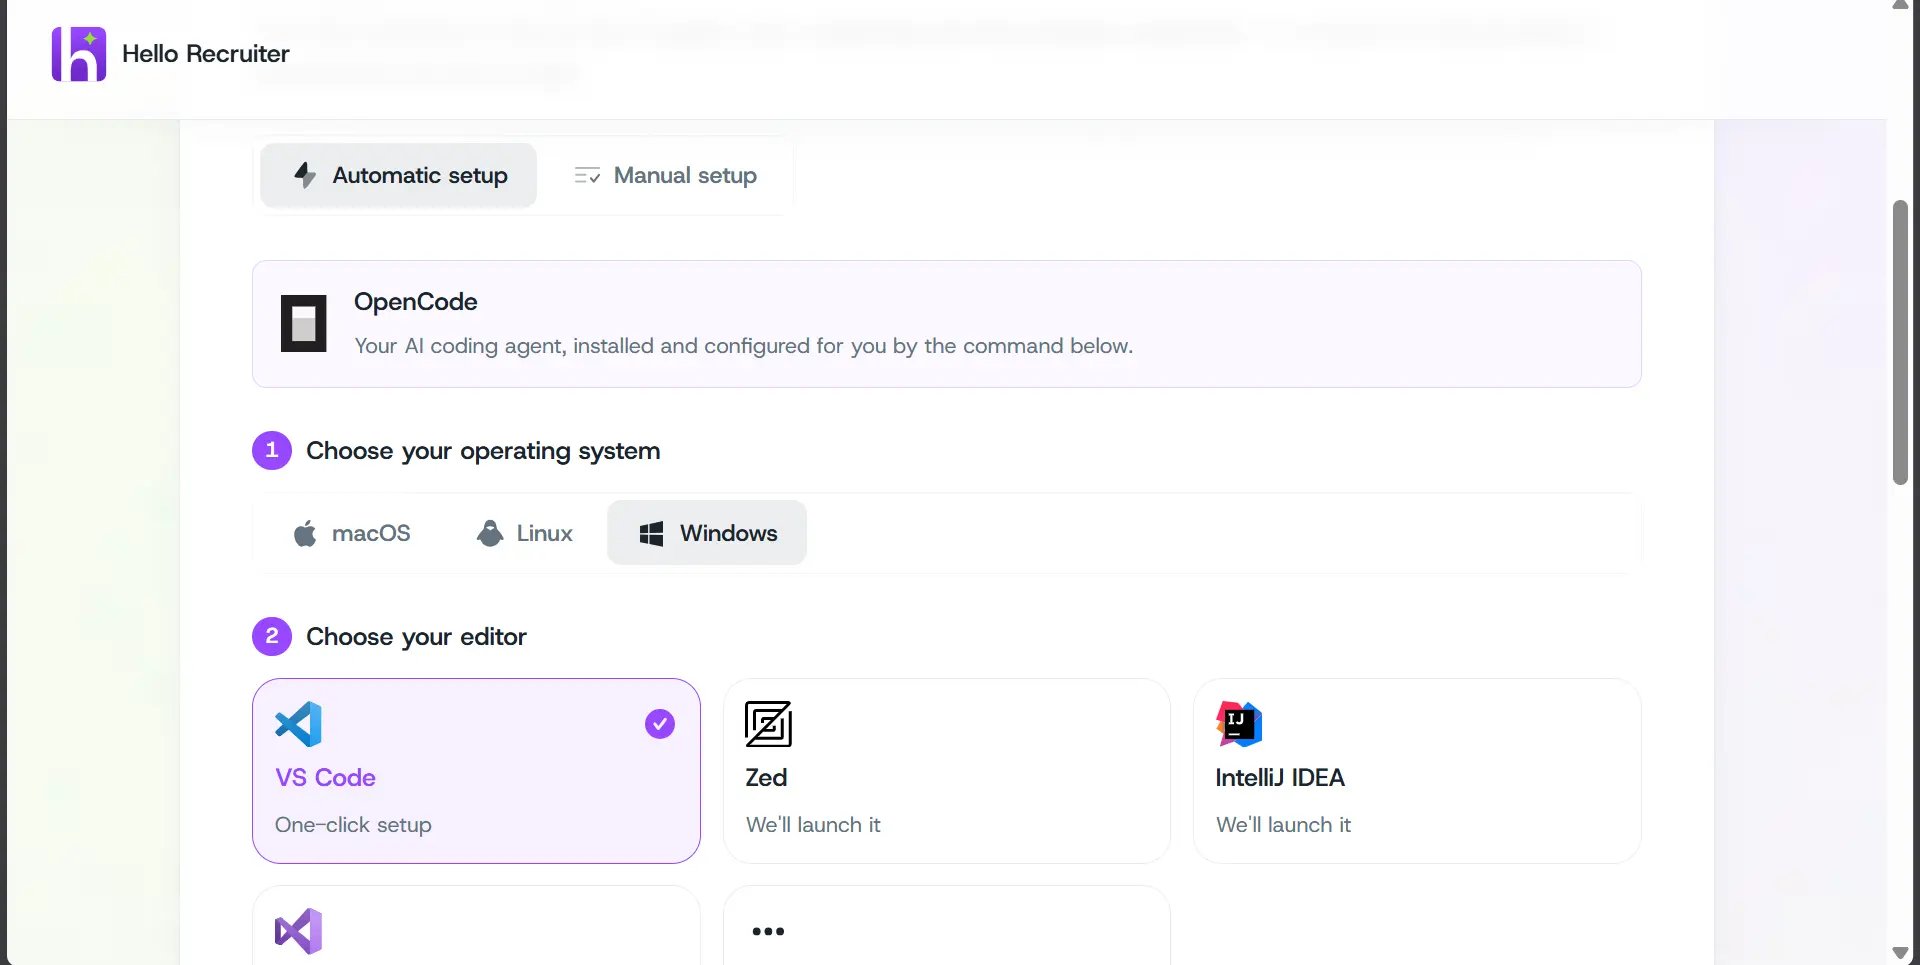
Pick your editor and operating system:
You're then given a single command to paste into a terminal:
* **Windows (PowerShell):** `irm "" | iex`
* **Mac/Linux (bash):** `curl -fsSL "" | bash`
The link is generated specifically for your invitation, so it's shown on your own assignment page rather than reproduced here. Here's exactly what running it does:
1. Creates (or uses) a workspace folder on your machine and initializes a local git repository in it
2. Installs the OpenCode CLI, if you don't already have it
3. Requests an AI credential using your invitation, and writes it into OpenCode's configuration
4. Installs a small plugin that tags your AI session so it can be identified during review — it doesn't carry any login credentials of its own and doesn't restrict what you can do with the assistant
5. Downloads your problem statement into the folder as `problem_statement.md`
6. Writes a small submit script (`submit.sh` on Mac/Linux, `submit.ps1` on Windows) you can run later to upload your work
7. Sets up your editor: for **VS Code**, it adds a couple of one-click tasks (open the problem statement, start the assistant, submit your work) and opens the folder for you; for **Zed, IntelliJ, or Visual Studio**, it launches that editor and starts the assistant in a terminal; for **any other editor**, it leaves the folder ready and tells you where it is
**Would rather not run a script?** Open a terminal in the workspace folder yourself, run `opencode .`, and open `problem_statement.md` from your file explorer — that's all the script actually automates.
#### If You're Using VS Code
The first time VS Code opens your workspace, it may open in **Restricted Mode** and ask you to trust the folder before tasks or extensions can run:
Click **Trust** to enable the one-click tasks (like "Submit assessment"). If you'd rather not grant that trust, you don't have to — just open a terminal in the folder yourself, run `opencode .`, and open `problem_statement.md` from the file explorer instead.
### Manual Setup
If you'd rather do each step yourself instead of running the install command:
You'll need a code editor — [VS Code](https://code.visualstudio.com), Zed, IntelliJ, Visual Studio, or your editor of choice — and the [OpenCode CLI](https://opencode.ai/docs).
Provision your assessment AI credential from your assignment page, then save it to `~/.config/opencode/opencode.json` (Windows: `%USERPROFILE%\.config\opencode\`).
Save the plugin your assignment page provides into `~/.config/opencode/plugins/hr-session-header.js`. Without it, your session isn't recorded and your work can't be reviewed.
Download it from your assignment page into your project folder as `problem_statement.md`.
Open the folder in your editor, then run `opencode .` in a terminal.
Click **Start submission** on your assignment page when you're ready to upload your ZIP.
Use only the AI assistant and credential provided for your assessment — don't swap in a different AI tool or your own API key. Doing so means we can't review your work, and your submission is disqualified.
***
## Submitting Your Work
Same as a standard assessment — package your project as a ZIP and upload it (see [Packaging Your ZIP File](/candidates-guide/take-home-assessment#packaging-your-zip-file)). If you used the automatic setup, you can also run the generated `submit.sh`/`submit.ps1` script, or use the **"Submit assessment"** task from inside VS Code if it was set up for you.
You can't make changes or resubmit once your work is received, so make sure you're ready before you upload.
 You're then given a single command to paste into a terminal:
* **Windows (PowerShell):** `irm "
You're then given a single command to paste into a terminal:
* **Windows (PowerShell):** `irm "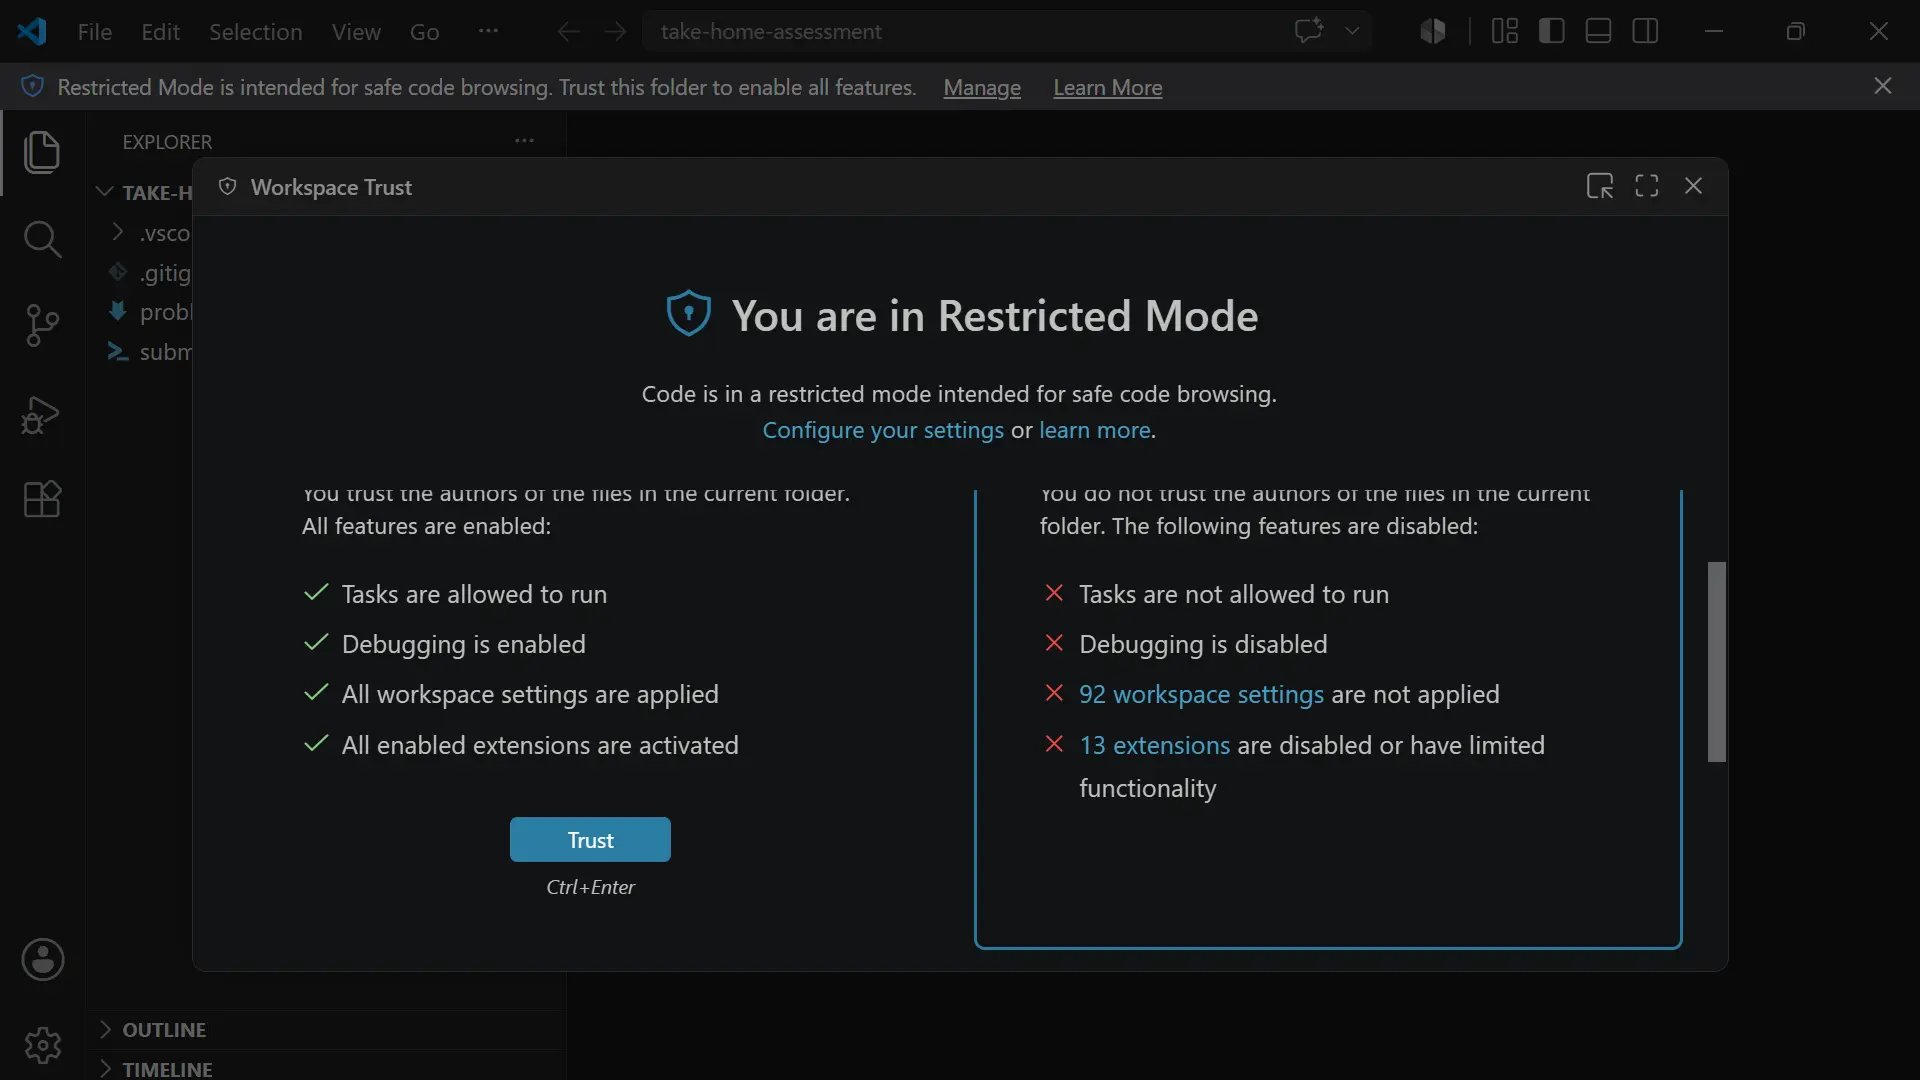 Click **Trust** to enable the one-click tasks (like "Submit assessment"). If you'd rather not grant that trust, you don't have to — just open a terminal in the folder yourself, run `opencode .`, and open `problem_statement.md` from the file explorer instead.
### Manual Setup
If you'd rather do each step yourself instead of running the install command:
Click **Trust** to enable the one-click tasks (like "Submit assessment"). If you'd rather not grant that trust, you don't have to — just open a terminal in the folder yourself, run `opencode .`, and open `problem_statement.md` from the file explorer instead.
### Manual Setup
If you'd rather do each step yourself instead of running the install command: